A suggested order for setting Mays up after you create your account. Each step says where to find it on the web and links to the full article.
You don't have to do it all at once, and nothing here is locked in — you can change every setting later. Everything below happens in the web app at go.mays.app as an admin.
Day 1: your locations
- Go to Locations & Users → Locations and open the location you created at sign-up. Check its address, Timezone and Phone, and add the location's Email.
- Click Add Location for each of your other stores.
Details: Add and manage locations.
Day 1–2: your team
- Decide who should be an Admin (everything, every location), a Manager (their own locations) or an Employee (the mobile app only). Roles and permissions explains what each can do.
- Add your managers first: Locations & Users → Users → Add User. They get an email to set their password, and can then add their own staff.
- Add employees one by one the same way, or bring a whole staff list in at once with Import employees on the same page.
Employees get a text message with a link to the app and sign in with their phone number — no password to remember. Details: Add and invite team members and Import employees from a spreadsheet.
Day 2–3: your first checklist
Start with the one list every store runs — opening or closing.
- Already have checklists on paper, in Word, Excel or PDF? Let Mays AI turn them into templates. The first time you opened the web app you were taken to Mays AI Onboarding; to go back, click Continue on the Finish setup with Mays AI banner on the dashboard, or Import from Document on Tasks → Templates. Upload a file (PDF, photo, Excel, Word, CSV or text) or type your list, review the drafts on the right, and approve them. This uses AI credits.
- Starting from scratch? Go to Tasks → Templates and click Create Template.
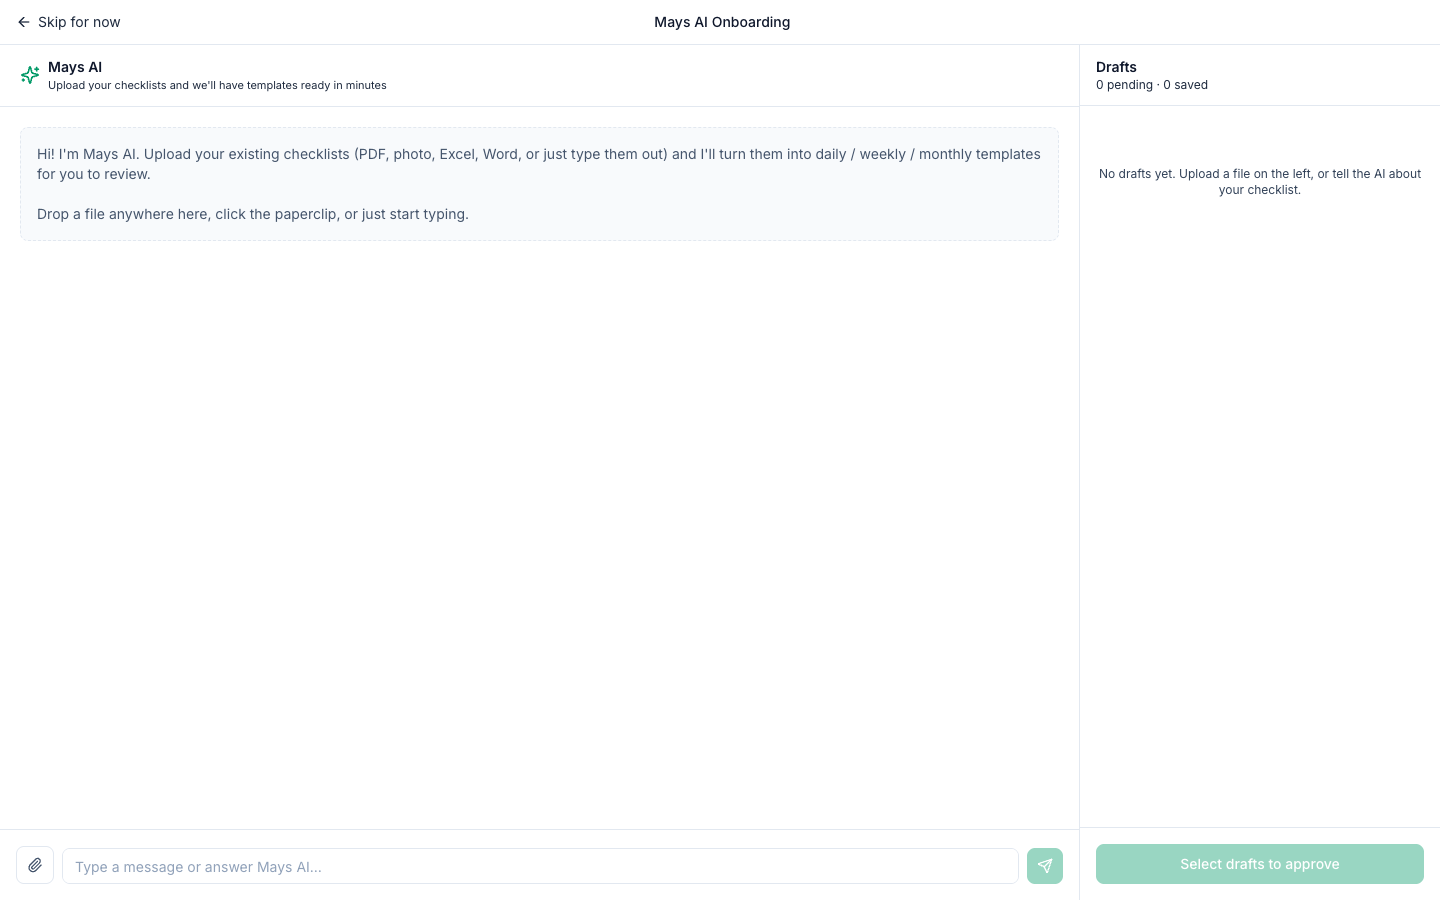
Then have one person at one store run it for a day before you roll it out everywhere.
Day 3–4: connect your POS or scheduling tool
If you use Square or 7shifts, connect them from Integrations in the sidebar: find the service under Add Integration and click Connect.
- Square — choose the Mays Location, click Connect with Square, and approve the connection on Square's site.
- 7shifts — enter your 7shifts Company ID and an Access Token from 7shifts' developer tools, then click Connect & Sync.
Connecting is for admins; managers can connect Square for the locations they manage.
Day 4–5: get everyone on the apps
Ask your team to install the app — Mays Operations on the App Store, Mays on Google Play — and sign in with their phone number. See Installing the Mays apps.
Along the way
- Getting lost? Finding your way around the web app explains the sidebar and the location switcher.
- Ask Mays AI — the round button in the bottom-right corner of every web page answers questions about your operations.
- Your trial — every new organization gets 30 days with all plan modules on. Some modules, such as scheduling and inventory, depend on your plan after that; see Settings → Billing.
- Stuck? Click Help at the bottom of the sidebar to open a support ticket, or email hello@mays.app.